

Nowadays, many computer users prefer a wireless keyboard over a wired one for many obvious reasons, the most compelling of which is that you’ll have fewer tangled wires to deal with (That’s enough for me).
When it comes to wireless keyboards, the Microsoft Bluetooth Keyboard is an excellent option for anyone seeking a sleek, minimalist, and functional wireless keyboard.
Unfortunately, and for some reason, there are very few online resources related to the Microsoft Bluetooth Keyboard, making it difficult for users to find any sort of setup instructions.
In this blog post, I will show you how to pair and connect a Microsoft Bluetooth Keyboard to your Windows PC in a few easy steps.
The Full Step-By-Step Process to Pair and Connect Your Microsoft Bluetooth Keyboard
Step #00 : Preparing to Pair the Keyboard
Before you start pairing (connecting) your Microsoft Bluetooth Keyboard with your device, make sure you have the following:
- A fresh pair of batteries for your keyboard—The Microsoft Bluetooth Keyboard uses two AAA batteries.


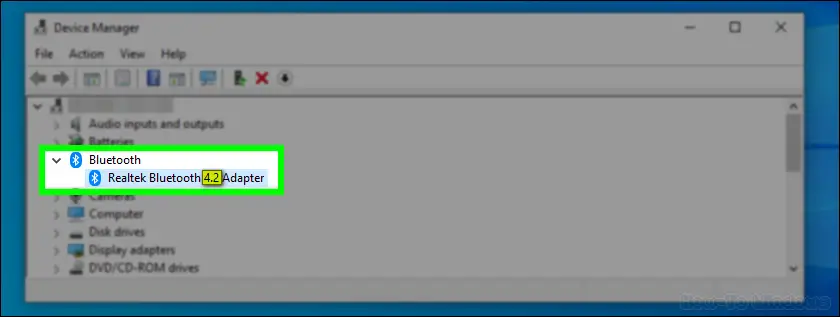
- A Windows PC (or any device) that supports Bluetooth 4.0 or later.
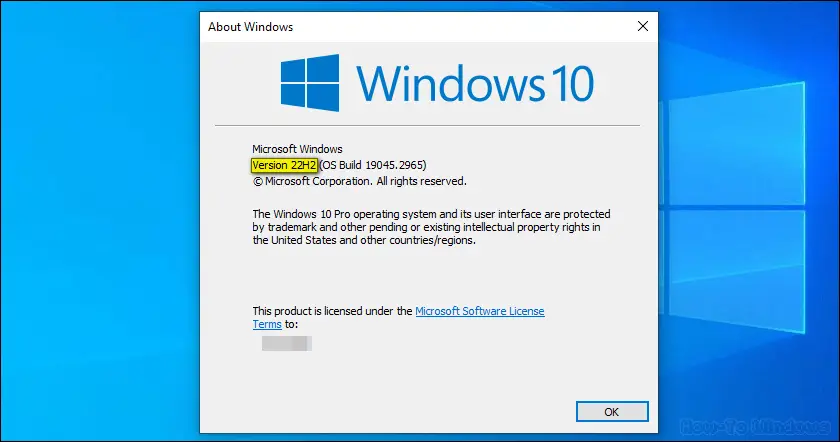
- To enjoy an optimal experience (fewer connectivity issues, access to all functionalities, etc.) on your Windows PC, you must have Windows 10 Version 1903 or later.


Once you have everything ready, follow these steps to pair and connect your keyboard:
Step #01 : Enable Bluetooth on Your Computer
Before you can pair your Microsoft Bluetooth keyboard with your computer, you need to make sure that Bluetooth is enabled. Here’s how to do it:
- Open the Settings app by pressing the
Windows+ikeyboard shortcut.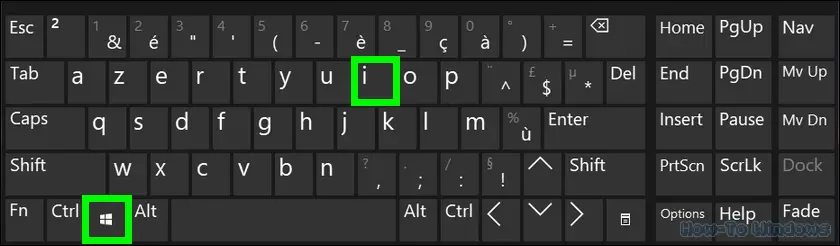
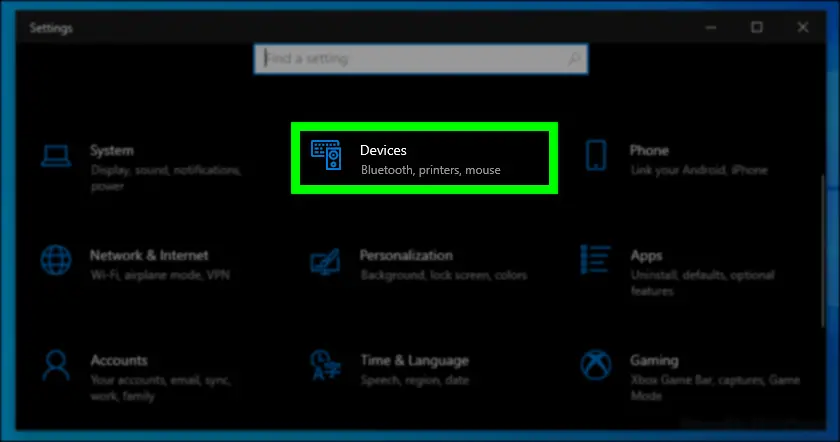
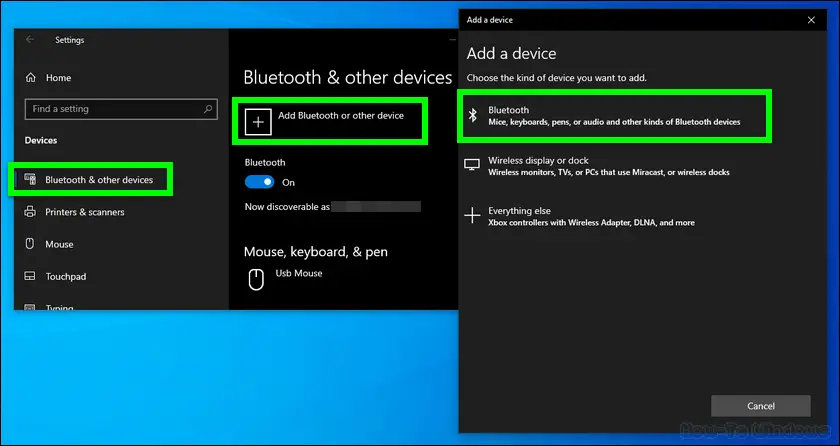
- In the Settings window, navigate to Devices.
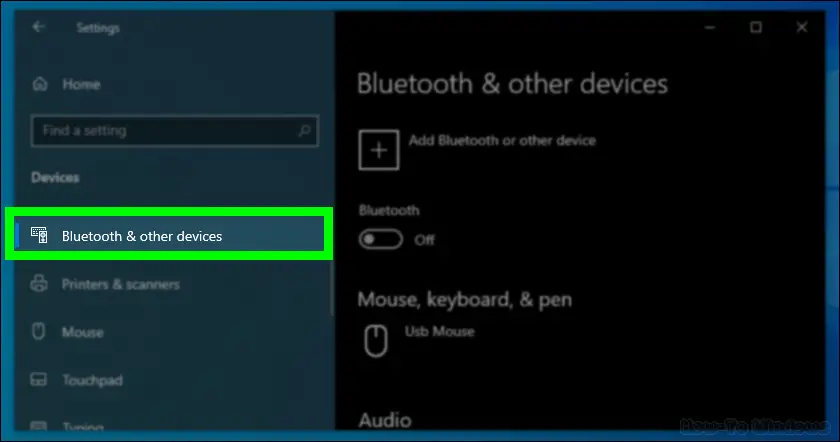
- On the left sidebar, select “Bluetooth & other devices“.
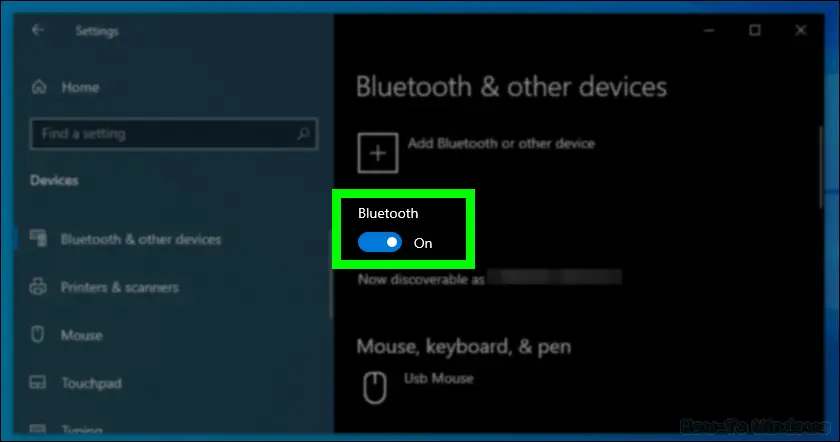
- Now, toggle the Bluetooth switch to turn it ON.

By enabling Bluetooth on your computer or device, you’re now ready to proceed with the pairing process for your Microsoft Bluetooth keyboard.
Step #02 : Put the Microsoft Bluetooth Keyboard in Pairing Mode
Putting your Microsoft Bluetooth keyboard in pairing mode enables it to be discovered and connected to.
Aside from the absence of an ON/OFF switch, another disadvantage of the Microsoft Bluetooth keyboard is that the pairing button is, for some reason, almost “hidden” away.
For this reason, many users struggle to find where the pair button on their Microsoft Bluetooth keyboard is located.
But don’t worry, we’ve got your back, all you need to do is:
- Look for the Bluetooth pairing button, typically located on the keyboard’s back, next to the battery, and stamped with a Bluetooth symbol.

- Press and hold the pairing button with your finger or with a pen tip for a few seconds until the Bluetooth indicator light starts blinking, indicating that it is now in pairing mode.


Step #03 : Connect Your Keyboard
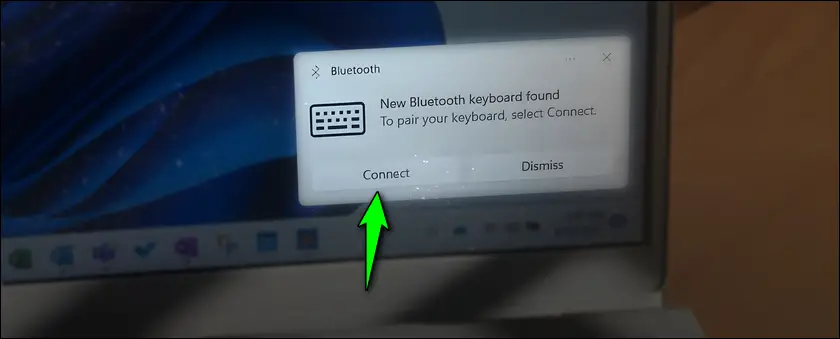
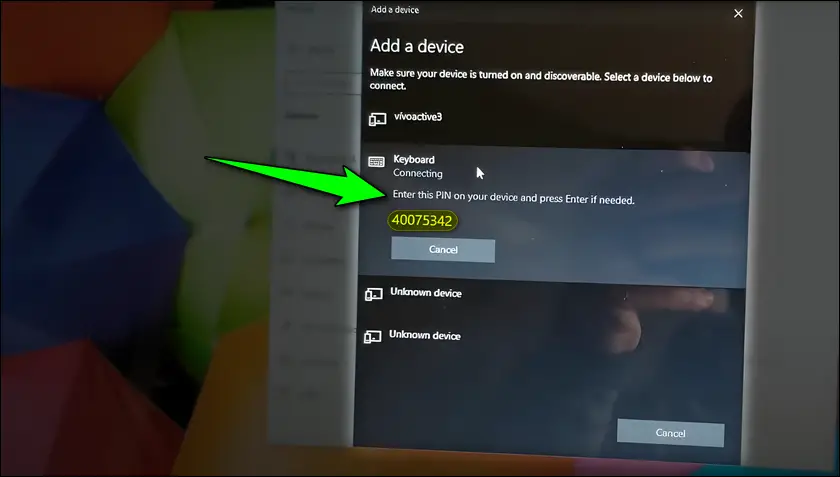
Immediately after the keyboard enters pairing mode, a notification will appear on your computer’s screen instructing you to:
- Press the Connect button.
- Type the pairing pin shown on the screen into the Bluetooth keyboard and hit Enter.
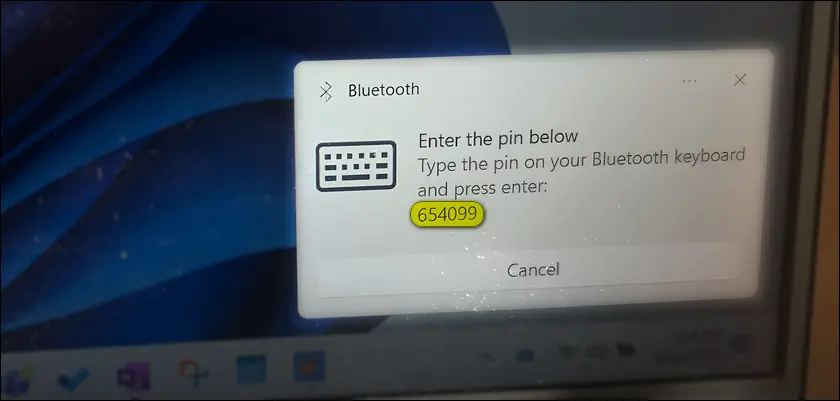
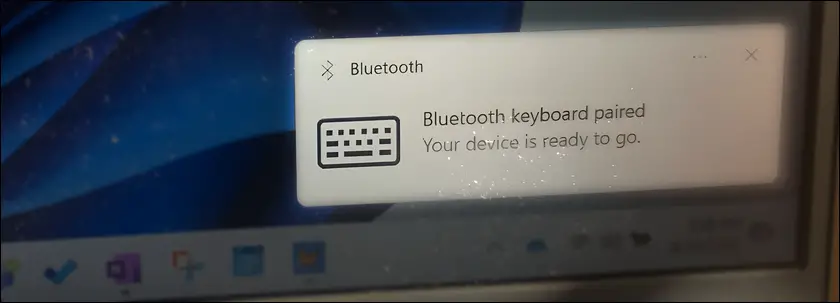
- Done, your Bluetooth keyboard is paired and ready to go.


If you didn’t get any notifications or pop-ups, then you must complete this step manually:
- Navigate to Settings (Windows + i) > Devices > Bluetooth & other devices > Add Bluetooth or other device > Bluetooth.
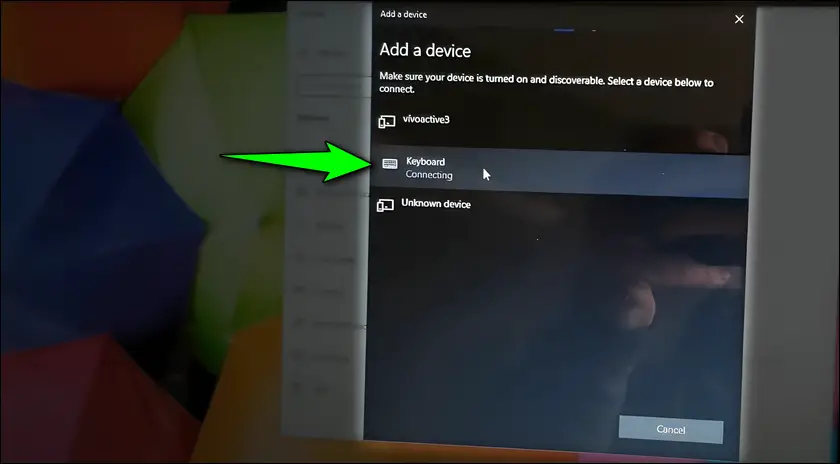
- Wait a few seconds, then select your keyboard from the list of available devices—Your keyboard should appear as “Microsoft Bluetooth Keyboard” or something similar.
- Type the pairing pin into the Bluetooth keyboard and then hit Enter.
- Your Microsoft Bluetooth Keyboard will now connect to your computer and become usable.


Read also: How to Speed up a Laptop Windows 11
Step #04 : Test Your Keyboard
After successfully pairing your Microsoft Bluetooth keyboard with your computer or device, it’s crucial to test your keyboard and ensure functioning as intended.
You can follow these steps to test your keyboard properly:
- Use Notepad or any other text editor and start typing text to ensure that keystrokes are registering correctly.
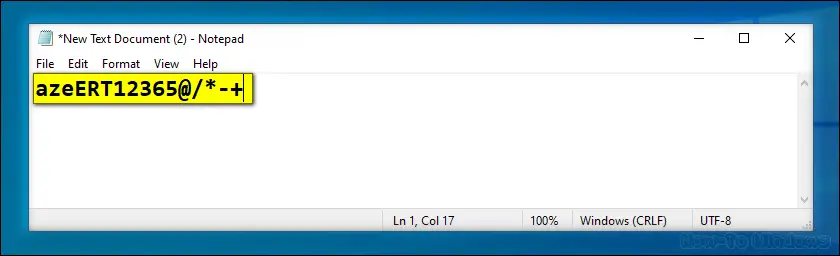
- Don’t forget to test special function keys such as the Office key and the Emoji key to ensure they are functioning as expected.

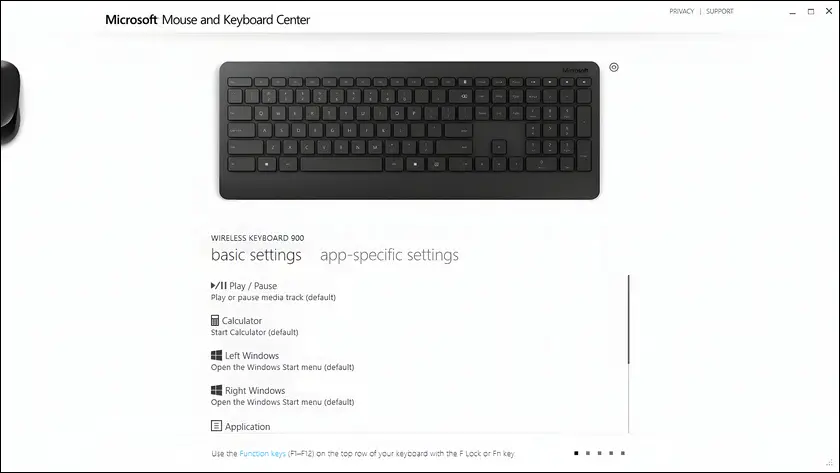
- Download and use the Microsoft Mouse and Keyboard Center software to fully maximize your keyboard’s capabilities by customizing its settings, assigning keys to specific functions, etc.


Finally, you can now enjoy typing wirelessly with your Microsoft Bluetooth Keyboard.
The Bottom Line
As you may have noticed, the process of pairing and connecting a Microsoft Bluetooth Keyboard with your PC or device is very simple, but for some reason, many people struggle to do so.
Anyway, I hope this blog post has helped get your Microsoft Bluetooth Keyboard ready to go.
If you have any questions or encounter any problems, feel free to share them in the comments section and we will dedicate a new post to address them.
